 RISC-V Test Matrix
System Version
v1.3
Status
GOOD
System Variant
bianbu-computer
Last Update
2025-08-13
SpacemiT MUSE Pi Pro, Bianbu-Compupter UEFI v1.3 Test Report
Test Environment
System Information
- Download Link: https://archive.spacemit.com/image/k1/version/bianbu-computer-uefi/v1.3/
- Reference Install Document: https://developer.spacemit.com/documentation?token=QSfGwmkhqiHwqQkHmCicH2Qnnyg
This version is based on Bianbu Star v2.1.
Hardware Information
- SpacemiT MUSE Pi Pro Board
- USB Charger
- USB Type-C cables
- UART to USB Debugger
- microSD Card (if flash to microSD card)
Installation Steps
Flashing the Image (SD Card)
Please make sure to choose the file ending with .img.zip
Note: Please pay attention to use the uefi image, instead uboot image used by other k1/m1 devices.
After downloading and extracting the image, use dd to flash the image to the microSD card.
unzip	bianbu-computer-s1-uefi-release-for-pipro-v1.3-release-20250529141832.img.zip
sudo dd if=bianbu-computer-s1-uefi-release-for-pipro-v1.2-release-20250421182705.img of=/dev/your-device bs=1M status=progress
Please replace /dev/your-device with the actual device name of your microSD card. Make sure to double-check the device name to avoid overwriting your own disk.
Flashing the Image (eMMC)
Please make sure to choose the file ending without .img
Note: Please pay attention to use the UEFI image, instead u-boot image used by other K1/M1 devices.
After downloading and extracting the image, use fastboot to flash the image to the eMMC.
unzip bianbu-computer-s1-uefi-release-for-pipro-v1.3-release-20250529141832.zipUnder the USB Type-A port, you can see three buttons. Let the ethernet port facing up, from top to bottom, the buttons are PWR, RST, and FDL . You shall hold the FDL button while power on/RST, to enter the fastboot mode. You shall see the dfu-device in your system:
$ fastboot devices
dfu-device       DFU download
Note: for the steps below,
sudomight be needed. Otherwisefastbootmight not pick up the board since it’s default USB VID/PID is not in the default udev rules.
fastboot stage factory/FSBL.bin
fastboot continue
sleep 1 # Wait for 1 sec
fastboot stage u-boot.itb
fastboot continue
sleep 1 # Wait for 1 sec
fastboot flash gpt partition_universal.json
fastboot flash bootinfo factory/bootinfo_sd.bin
fastboot flash fsbl factory/FSBL.bin
fastboot flash env env.bin
fastboot flash opensbi fw_dynamic.itb
fastboot flash uboot u-boot.itb
fastboot flash ESP efi.img
fastboot flash bootfs_linux bootfs_linux.img
fastboot flash rootfs_linux rootfs_linux.ext4
fastboot flash bootfs bootfs.ext4
fastboot flash rootfs rootfs.ext4
Logging into the System
Logging into the system via the serial port.
Note: If you boot into the desktop, you can see a install wizard. Follow the wizard to setup the account and password.
Default Username: root
Default Password: bianbu
Expected Results
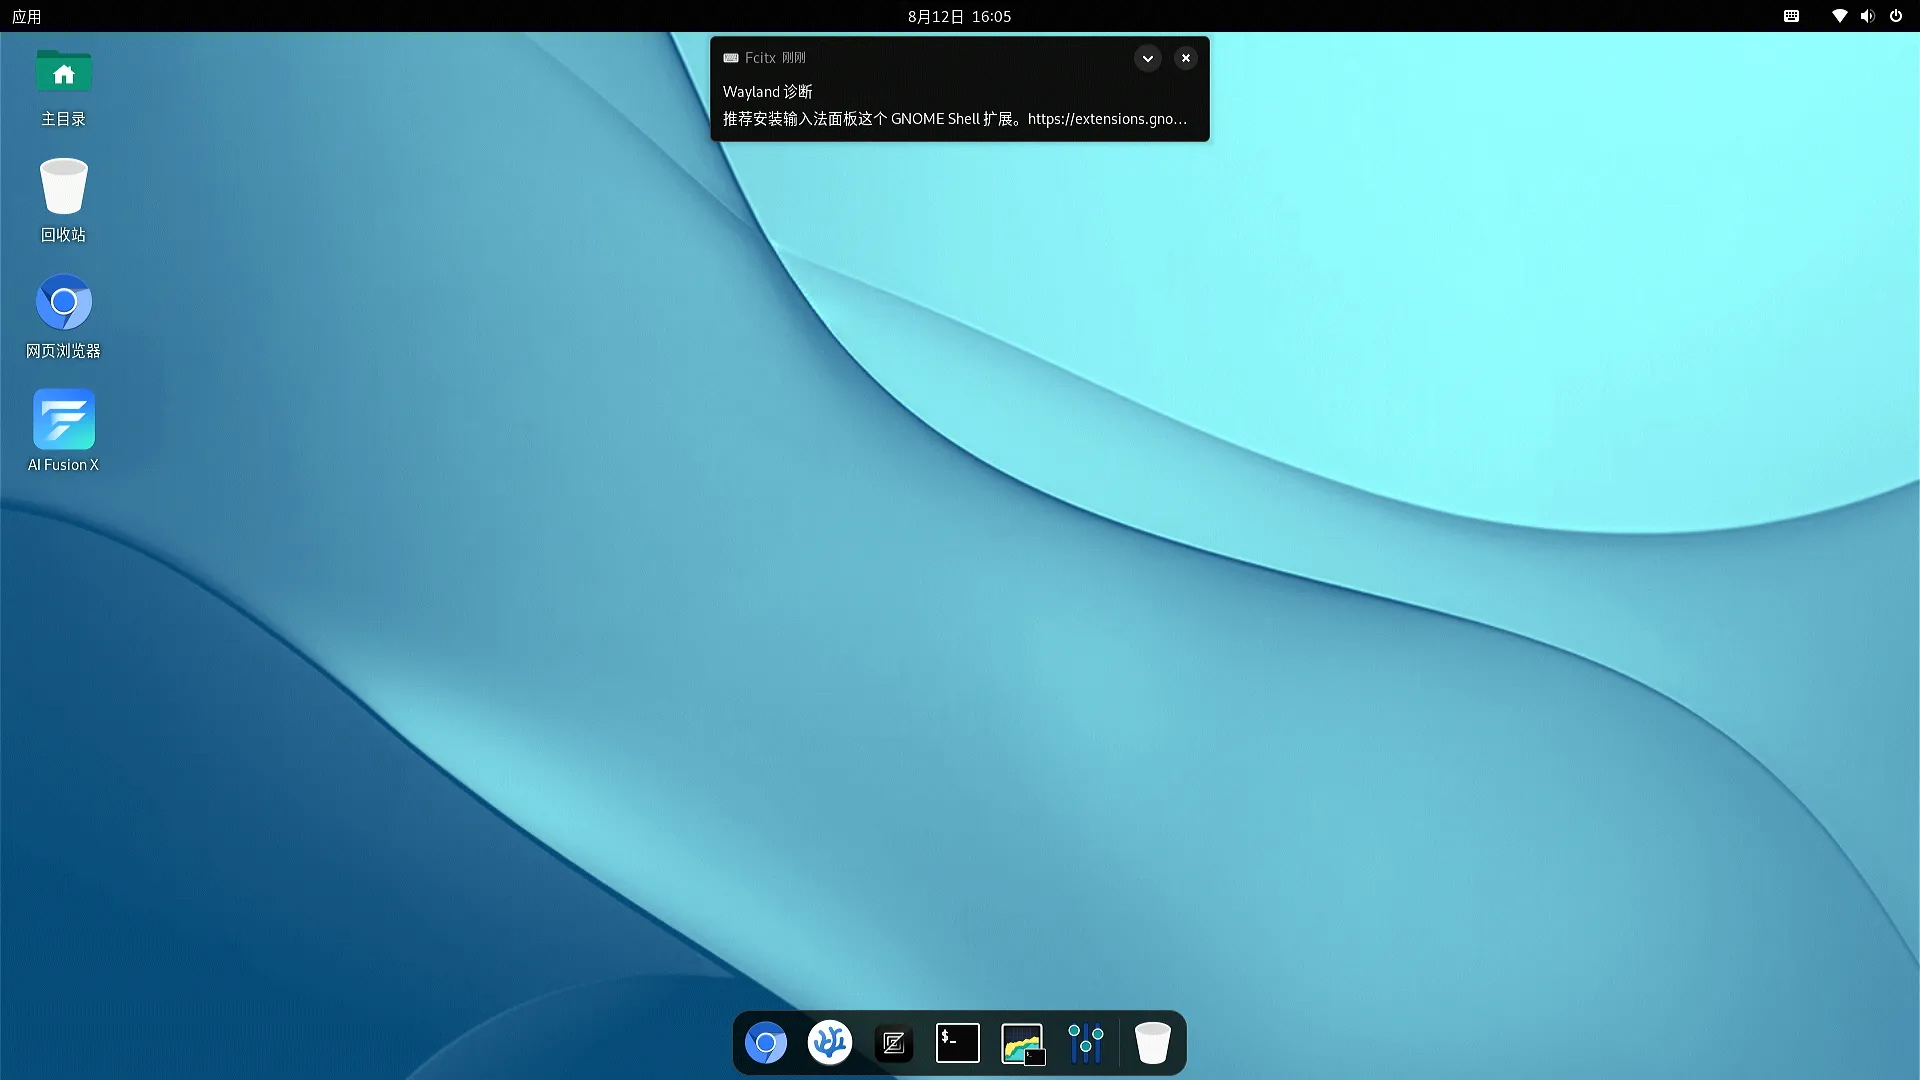
The system should boot normally and allow login via the onboard serial port. Can also login via the desktop.
Actual Results
The system booted successfully and login via the onboard serial port was also successful. Can also login via the desktop.
Boot Log
Screen recording (from flashing image to login):

Welcome to Bianbu 2.1 (GNU/Linux 6.6.63 riscv64)

 * Documentation:  https://bianbu.spacemit.com
 * Support:        https://ticket.spacemit.com

The programs included with the Bianbu system are free software;
the exact distribution terms for each program are described in the
individual files in /usr/share/doc/*/copyright.

Bianbu comes with ABSOLUTELY NO WARRANTY, to the extent permitted by
applicable law.

root@k1:~# uname -a
Linux k1 6.6.63 #2.2~rc3.2 SMP PREEMPT Thu Apr  3 06:53:27 UTC 2025 riscv64 riscv64 riscv64 GNU/Linux
root@k1:~# cat /etc/os-release
PRETTY_NAME="Bianbu Star 2.1"
NAME="Bianbu"
VERSION_ID="2.1"
VERSION="2.1 (Noble Numbat)"
VERSION_CODENAME=noble
ID=bianbu
ID_LIKE=debian
HOME_URL="https://bianbu.spacemit.com"
SUPPORT_URL="https://bianbu.spacemit.com"
BUG_REPORT_URL="https://ticket.spacemit.com"
PRIVACY_POLICY_URL="https://www.spacemit.com/privacy-policy"
UBUNTU_CODENAME=noble
LOGO=ubuntu-logo
root@k1:~#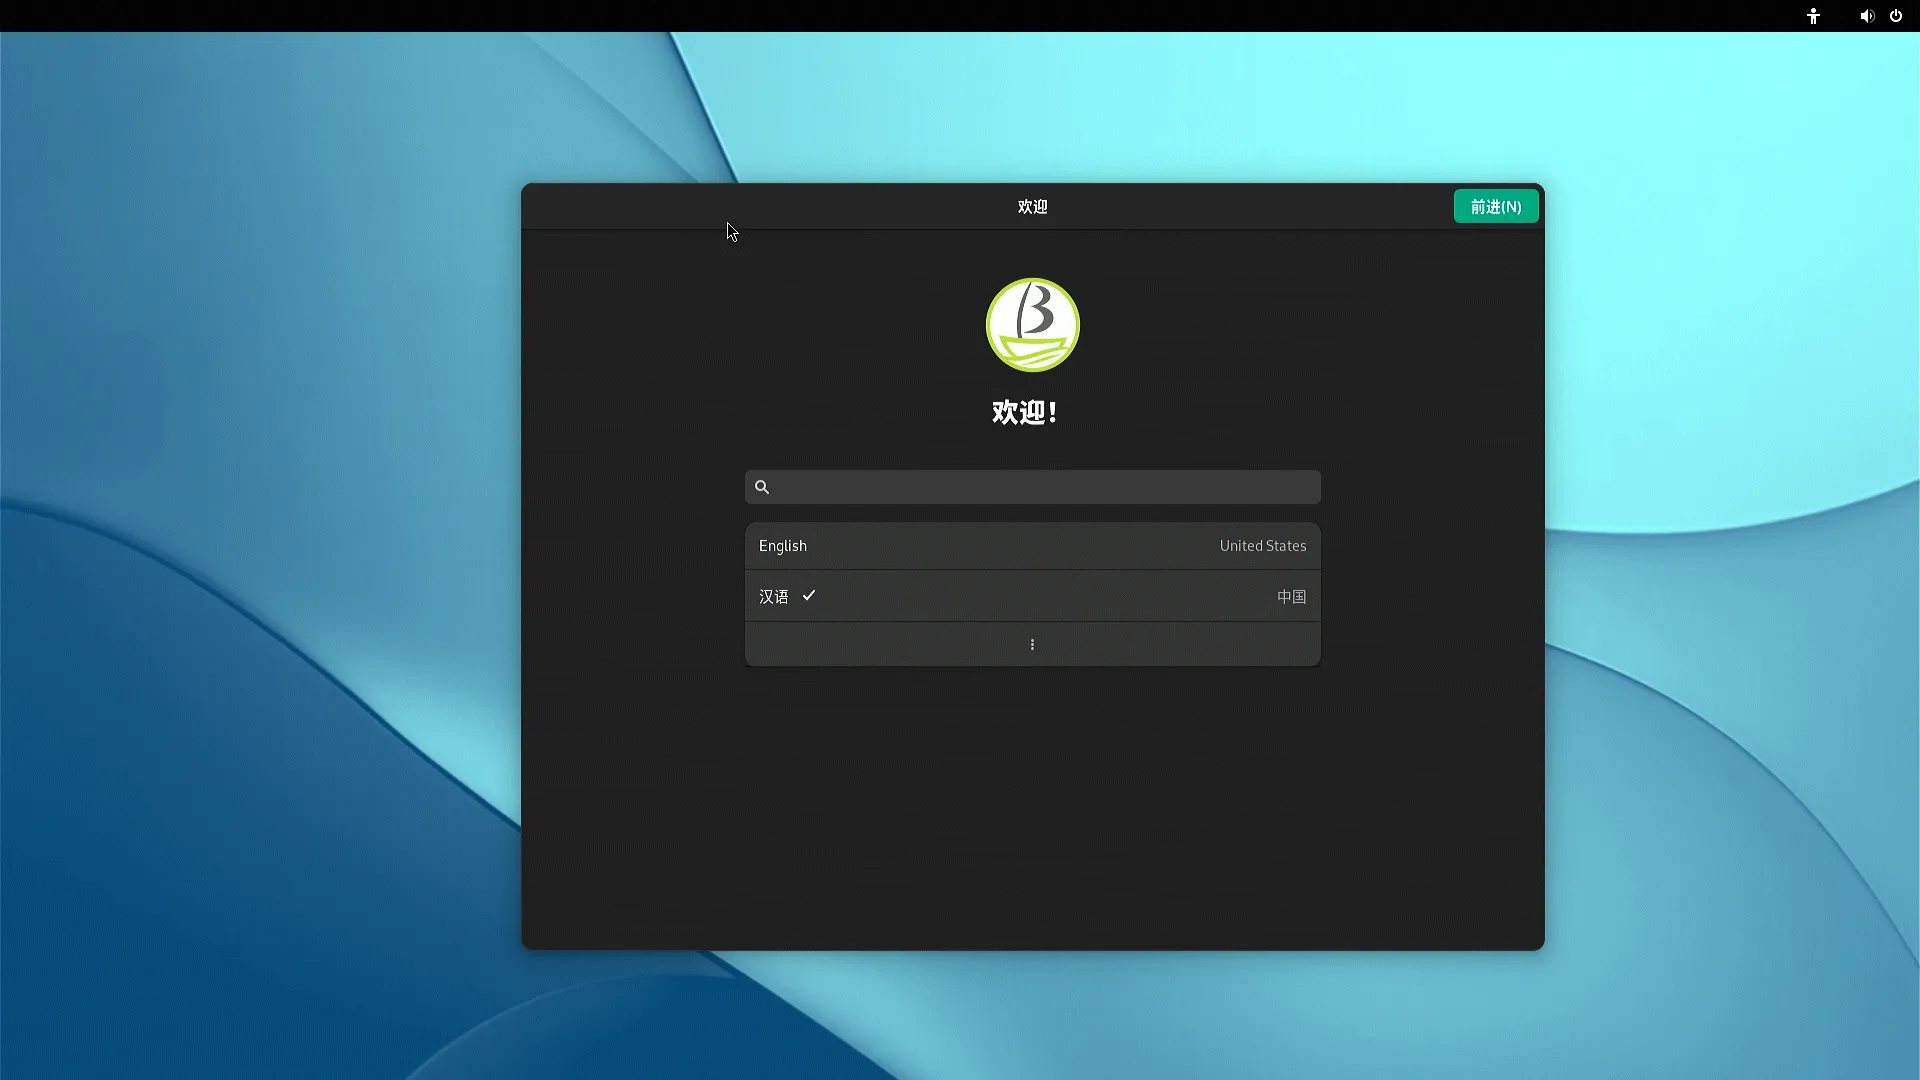

Test Criteria
Successful: The actual result matches the expected result.
Failed: The actual result does not match the expected result.
Test Conclusion
Test successful.
Source: Support Matrix